
I've attempted to make bread before, like once, and it didn't turn out so I gave up on the idea of ever having fresh baked bread, rolls, etc "like grandma used to make." The whole yeast thing was tricky (and obviously not my strength) not to mention kneading bread time & time again before I actually got to EAT the dang stuff just didn't sound fun. And I enjoy cooking. So if it isn't going to be enjoyable, and I suck at it, then I'm not going to do it.
Then came Pinterest. The picture that was pinned for this recipe hit my carbaholic spot just right. I couldn't resist. I had to read on.
To my surprise, this recipe was actually much simpler than expected. It kind of seemed like a lot of steps initially, but one thing for sure caught my eye -- No kneading required! So I decided to give it a try. And funny enough, my yeast proofing skills had apparently improved over the years...of not proofing yeast. ; )
Check it out and give it a try. It's really kind of easy! Thankfully, the lengthiness of the recipe spells things out pretty nicely for non-bread-baking novices like me! Oh, and they are THEE BEST rolls you will ever eat. Promise!!

Ingredients:
1 1/2 cups of milk
3/4 cup + 1 Tablespoon Sugar
1 egg
1 Tablespoon salt
2 Tablespoons yeast
2 cups of warm water
9-10 cups of all purpose flour
at least 1 cup of butter
Directions:
Scald 1 1/2 cups of milk, 3/4 cup sugar, and 1/2 cup of butter in a microwave safe bowl, for about 2 minutes. (Cutting the butter into pieces helps it melt faster. There will probably be some little cubes of butter still floating in the hot mixture, they will melt.)
To cool down this mixture, stir in 1-2 cups of flour, then add 1 egg and 1 Tablespoon of salt, and let it sit for a couple of minutes. (Keep track of how much flour you are adding, beginning with this step!)
Meanwhile, in a measuring cup dissolve 2 Tablespoons of yeast in 2 cups of warm water and 1 Tablespoon of sugar. Wait about 5 minutes until it is bubbly.
Now, make sure your scalded milk mixture is just warm (not boiling), then add the yeast mixture.
Using a fork or wooden spoon, gradually stir in 9-10 cups of flour (counting the flour you have already added to cool it earlier). Add 2 cups at time and stir in between. You may use your hands if it becomes difficult to stir. In the end, the dough should be dense (but soft) and sticky.
Cover with plastic wrap and let the dough rise in a warm place until it has doubled in size. (About 1 hour). Butter 2 cookie sheets and set them aside.
Once it is done rising, dump out your dough onto a floured surface and divide into 4 equal balls. Roll each ball into a circle on floured counter. Once rolled out, spread with butter from edge to edge (about 2 Tablespoons per circle).
Cut dough using a pizza cutter. (Cut into 4 large triangles. Then cut each triangle into 3 smaller triangles. Each circle of dough should have 12 pieces.)
Roll the dough starting with the wide end of the triangle. Tuck the tail end under and place on buttered cookie sheet. You will make 3 rows on each cookie sheet with 8 rolls in each row. (24 rolls per pan) Set aside and let rise in a warm place until they are touching and full in size. (About 1 hour). Preheat oven to 350 degrees.
Cook 1 pan at a time for 10-15 minutes until they are golden brown. When they are still hot and fresh out of the oven, run a stick of butter over the top for a delicious buttery glaze. (I top half of mine with the Parmesan Garlic Butter recipe I have posted HERE.)
Enjoy!
Recipe adapted from How Does She

My Assistant :)

The yeast - it worked!

Scalded milk with yeast mixture added

Adding flour...

The dough - soft & sticky

Doubled in size


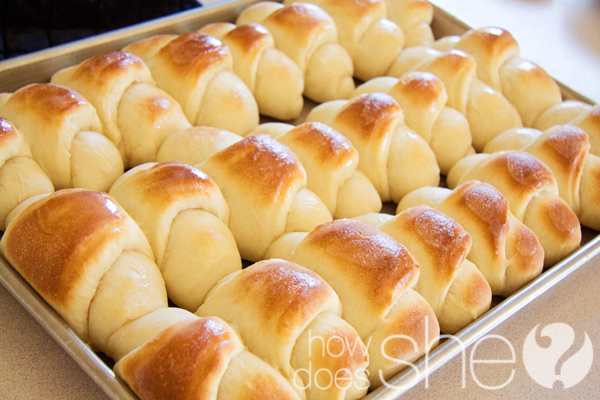
YUM!

0 comments:
Post a Comment